
Mesh events are the primary way people, outside of Teams meetings, join Microsoft Mesh. Mesh Event is based on a Mesh environment and has a lifespan for a specified time. These events can be customized with content, and this feature allows the presenter to show and hide what attendees see and more. In this article I share how to get started with Mesh events, by using Microsoft environment as a base and then customizing the content. So, let’s get started!
- Creating the event and inviting participants
- Customizing the space
- Controlling the content
- The conclusion
Creating the event and inviting participants
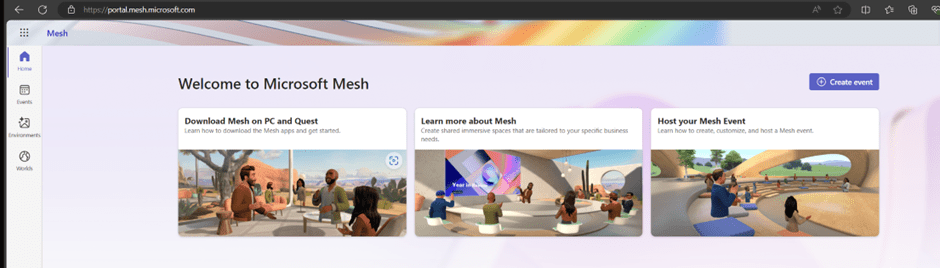
Events are created at Microsoft 365 Mesh Portal. In this example I use Microsoft’s “All hands” environment that is there by default. If you, or your organization, has created custom environments you can choose one of those as a base for your event. It is possible to save environments and events as templates, that can be reused without having to have the need to customize the space from scratch every time. Onboardings, trainings and other repeating events are great examples of using templates.
When we create an event we need to give it a name and Start & End time. You cannot make the event to the past, and consider when you are going to customize the event. This is relevant since events can be only customized before they have started – so you might want to do this no later than 45 minutes before the event start time. The date and time selection isn’t the most flexible one, but it does follow Microsoft’s graphic guidelines. It is good to enter a description also.
If you have a custom picture you want to use, this is the place to upload it. Otherwise Mesh automatically picks a picture from the environment.
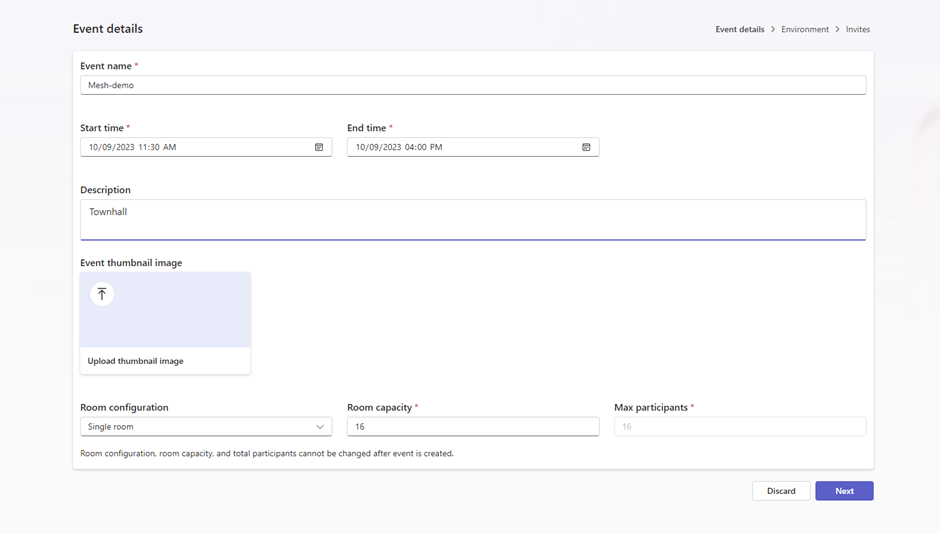
Room configuration is basically estimating how many people join the event. Single room events are the easiest, as they can have only 16 people at this time. Once the room is full, no-one can enter. On the other hand, if you select multi-room configuration you will have multiple rooms. How many rooms depends on what is your Room capacity and how many participants there will be at maximum (up to 200). The number of rooms is calculated from that: for example if you want to create a breakout room experience (panels / discussion groups) where each room has 6 people, and you expect 60 people to join up you can choose to have 6 in Room capacity and put max participants to 60 (or 120, 180 or 200). Mesh will then divide people, in groups of 6, into different rooms automatically. No, you can’t change the room on your own – at least not yet. This is one way to create a talking group experience quite easily, but you don’t have any control who is ending in which room. At least not at this point where Mesh is on its early steps. If there are more people coming, I usually default to 16 / room and max 200 participants. Unless I know there are 17-20 participants, because then one room would have 16 and other 1-4.. That is why it is good to estimate how many are really attending.
Once those details are done, proceed to the next phase
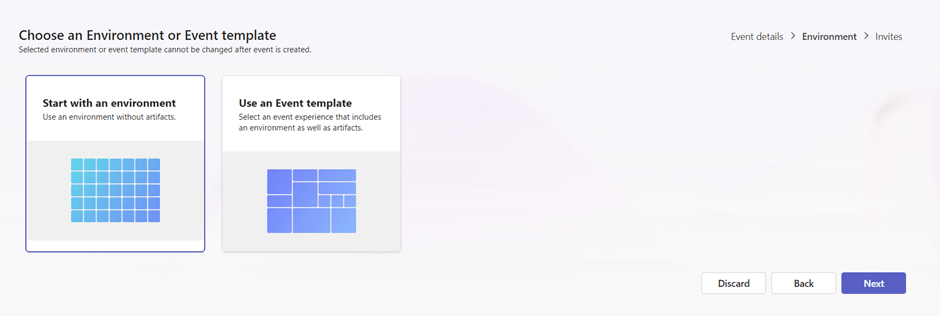
Here you will choose the environment for your event – or you can use an existing template.
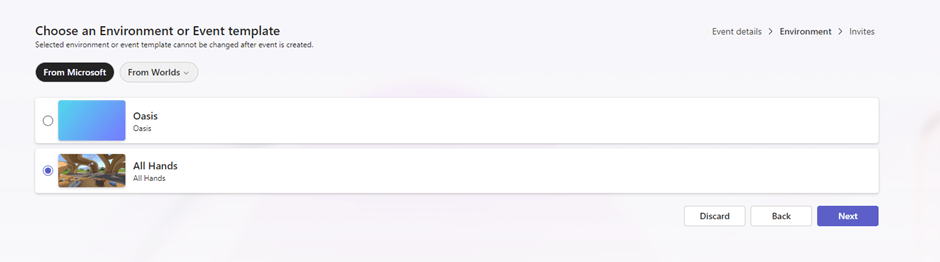
We proceed with environment choice and stick to out of the box Microsoft environment. These are called the Oasis and All Hands. All Hands is a classic “meadow” style space, which is versatile and calm. Oasis is an oasis in the desert. This has a bit different vibe to it, but it is a proper space for many needs. I suggest you try them both.
Finally, you add co-organizers (who are also presenters) and attendees. No, you can’t invite groups there at this point. It is good to remember that Mesh is in early steps, and in the future a lot of things can change.

When an event is successfully created, you get an overall view of it. The thumbnail image is automatically created from a selected environment unless you specifically uploaded your own.
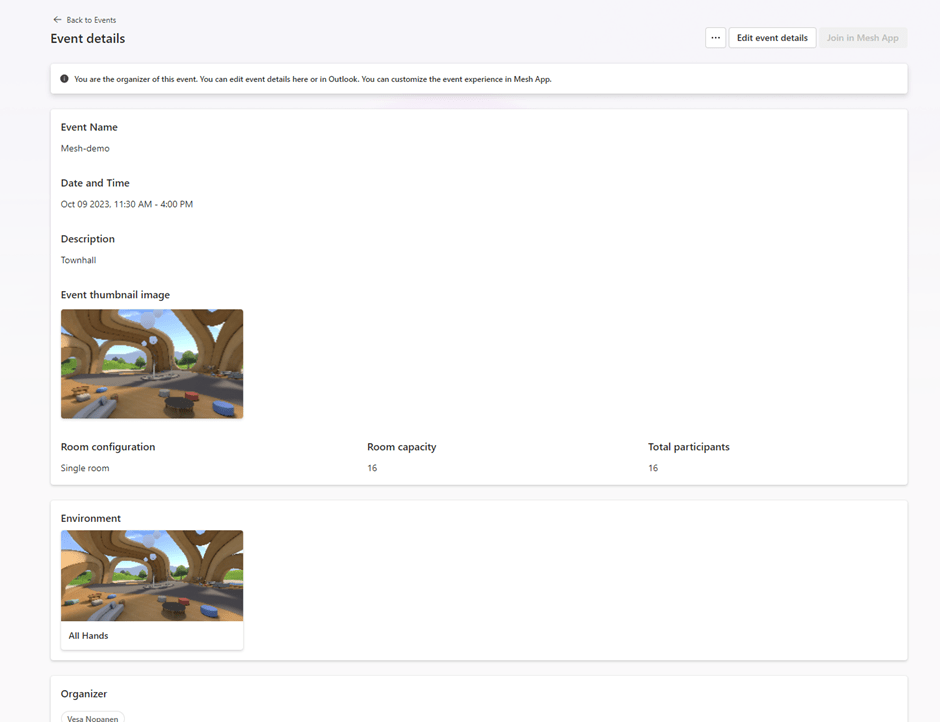
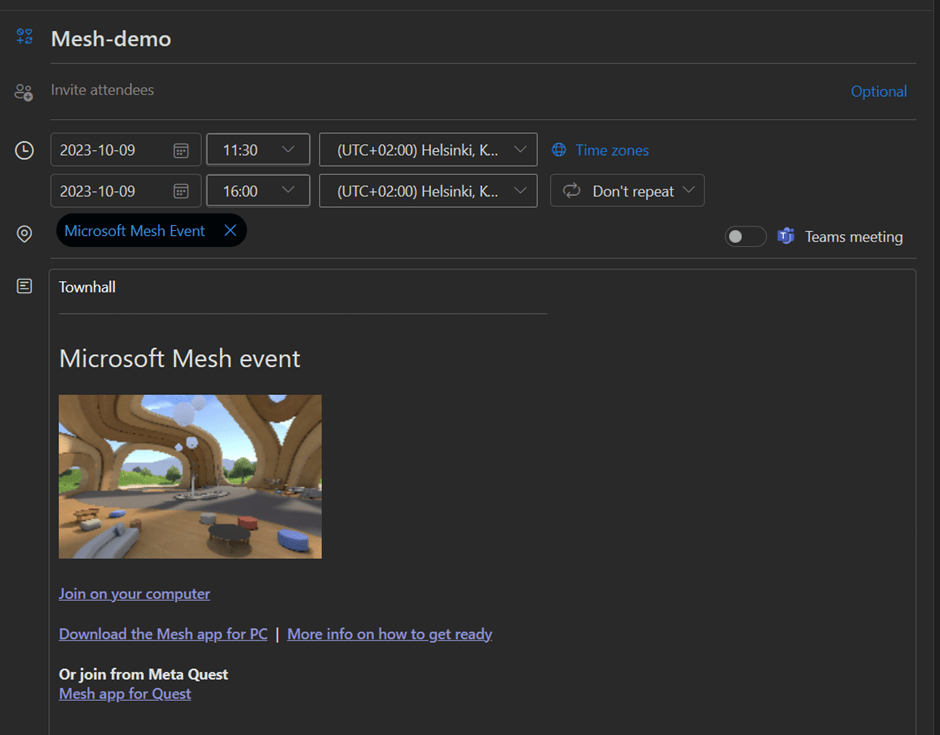
And you can see it also in your Outlook calendar
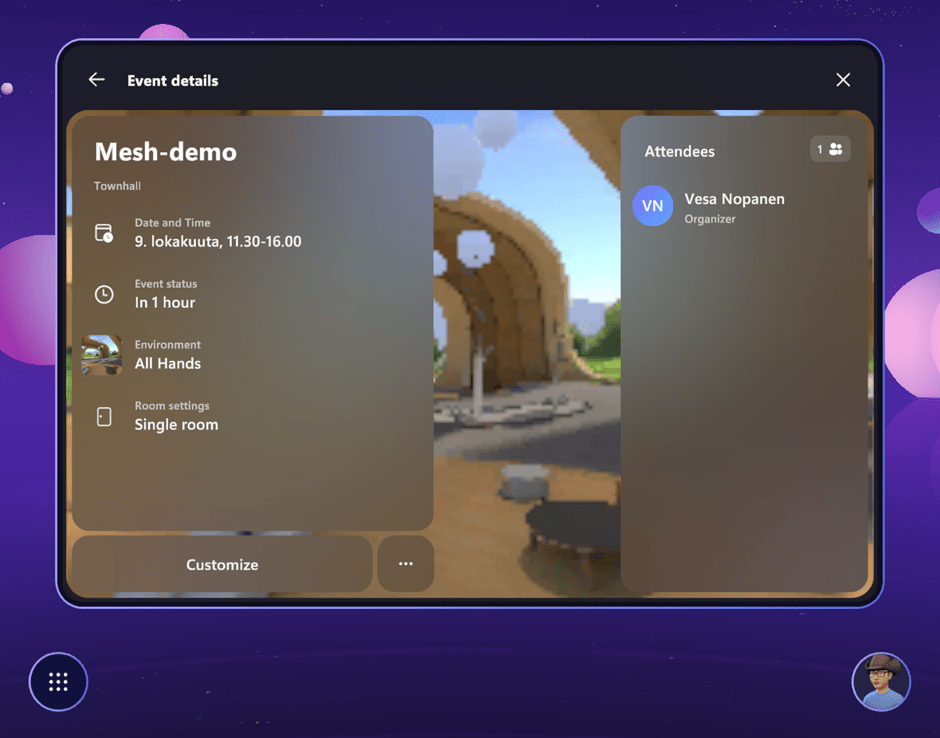
And as mentioned on the page, you can continue in Mesh app to customize the event before it begins. Once the event begins, customizations will be locked, and further editing is not possible.
Customizing the space
Once you have created the event, organizers and co-organizers can join the event in customization mode. Note that customizations / edits need to be done before the event begins, or in case of multi-room events before those rooms are provisioned (created by the system). To enter customization mode, open the event and instead of join, choose to customize. Mesh makes this easy for you, since when Customize is shown, Join is not. And vice versa.
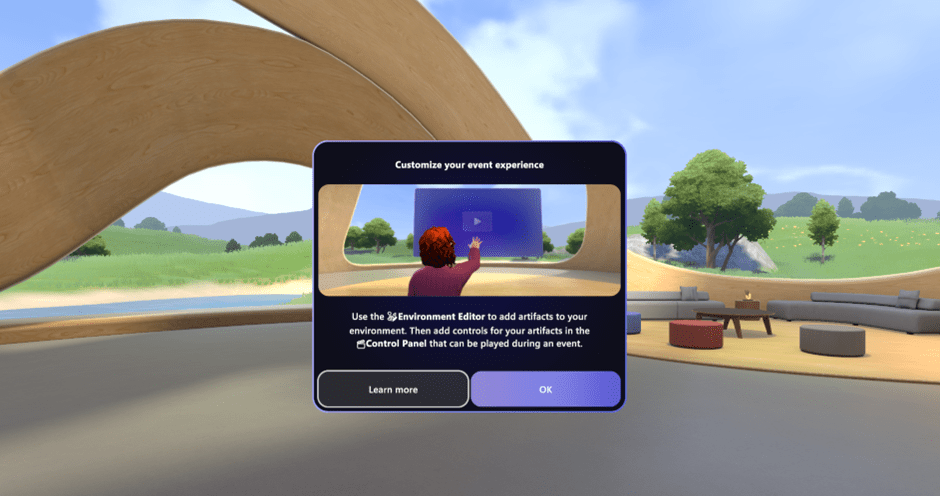
You can see that you have a couple of new items in the UI: Artifacts and Control Panel. These are on the left end of the main toolbar.

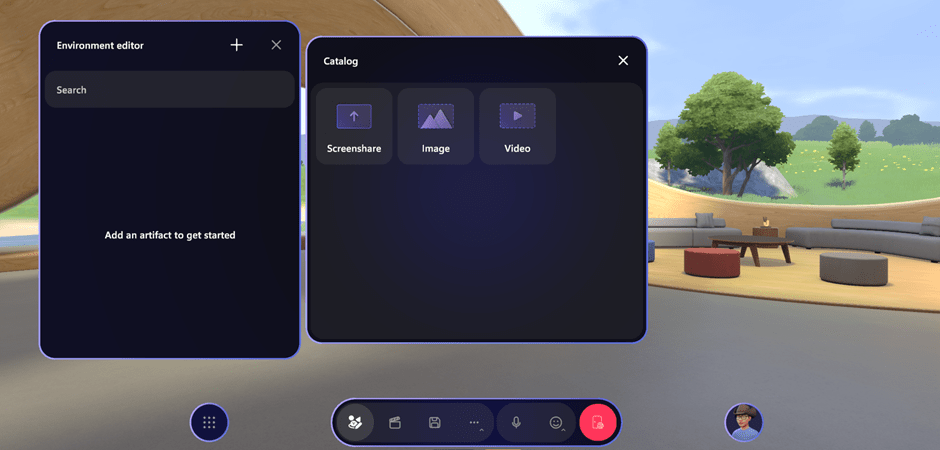
Adding artifacts is done by pressing + sign on top left corner of Environment editor. It opens the catalog that has currently three artifacts: Screenshare, Image and Video. I like that there is plenty of space for future additions.
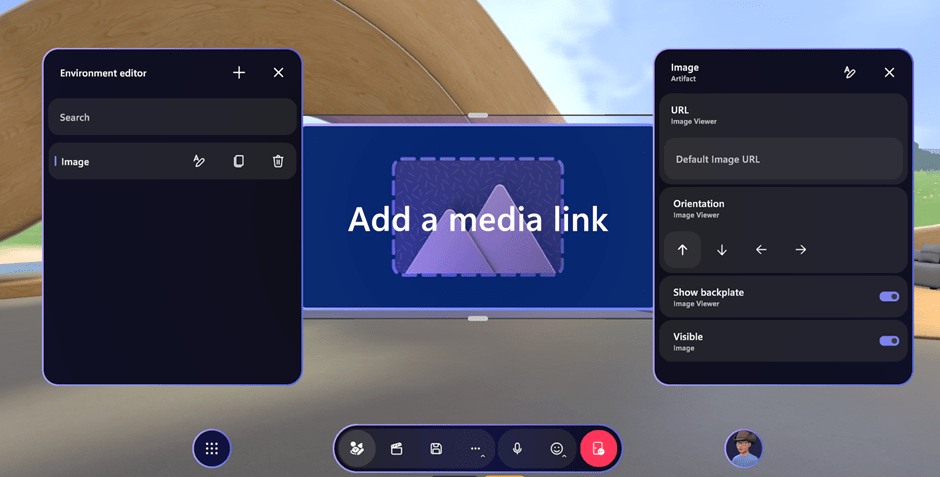
Let’s add an image now. You can add images from SharePoint, OneDrive for Business or public HTTPs source. In SharePoint and OneDrive use Copy Link / Share URL for the picture.
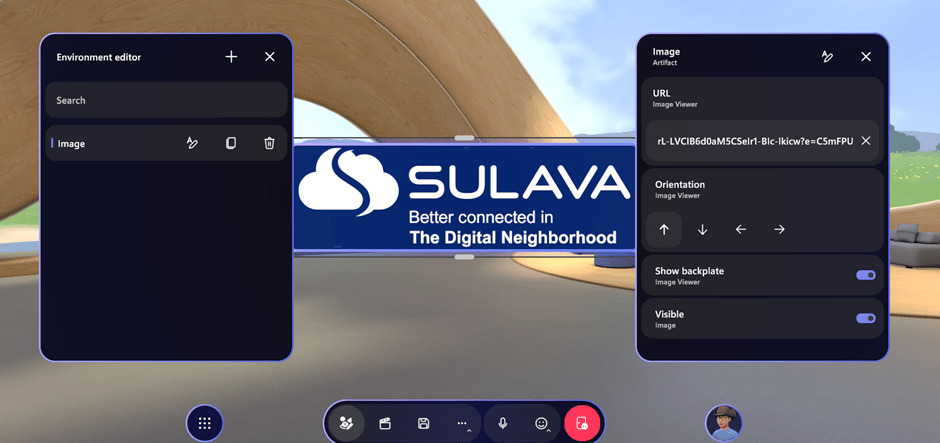
Once you have entered the URL you can see a preview of the picture.
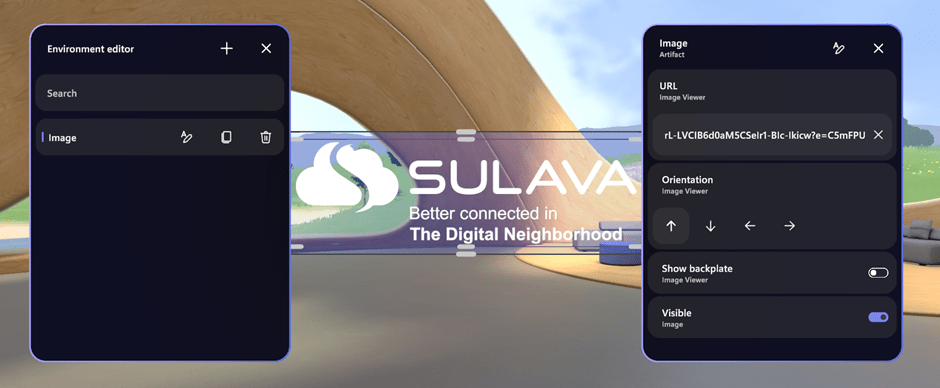
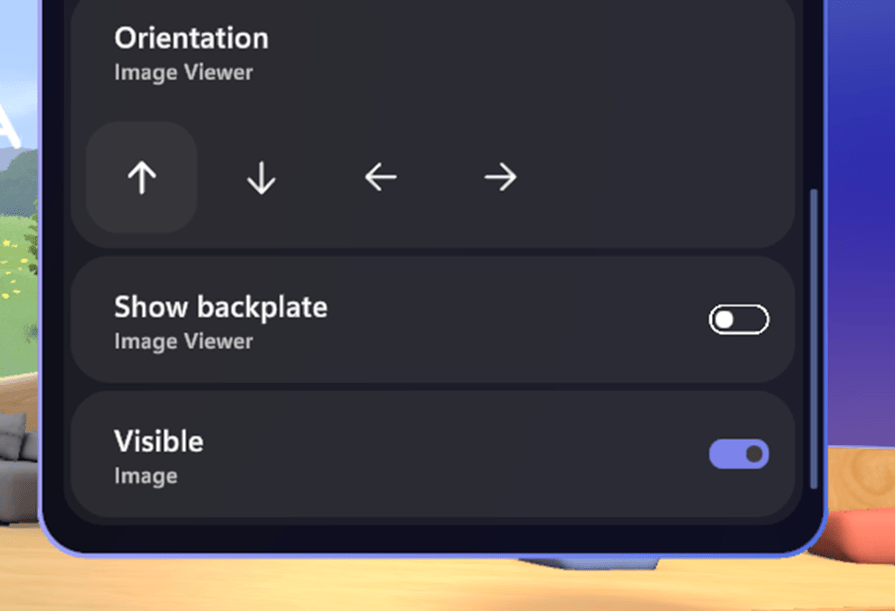
Turning off backplate gives a nice transparency effect for png-pictures that has transparent areas in the image. This can be used for cool effects.
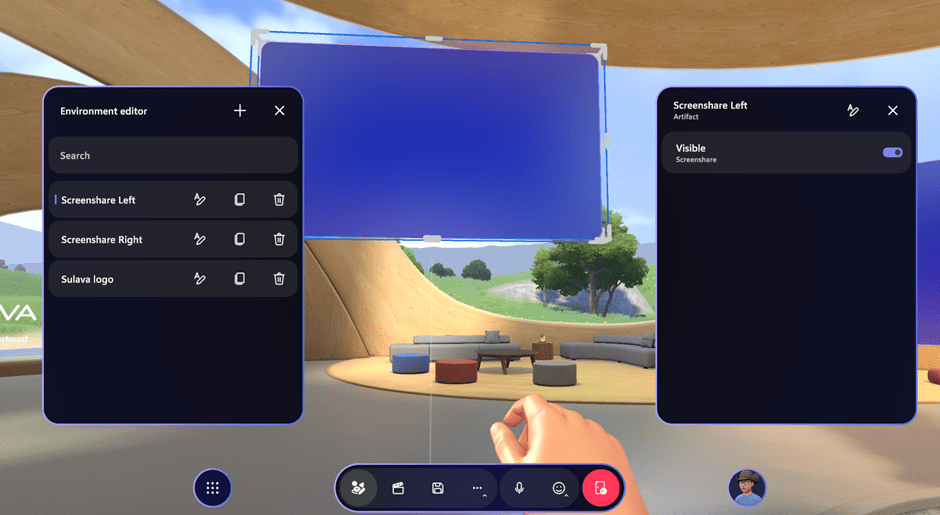
Visible turns picture on and off, only showing the backplate / placeholder. Turning artifacts off by default makes it easier to show them during the event, instead of hiding everything in the beginning.
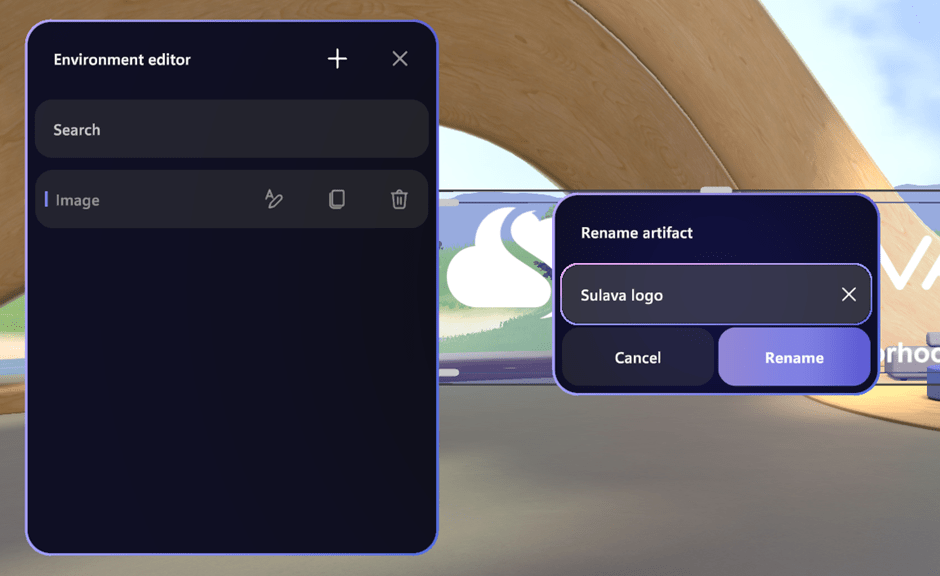
It is also very recommended to rename artifacts (image in this case) to something that makes it easy to identify which artifact is which in the space.
You can add multiple pictures this way. Next, let’s add screen sharing.
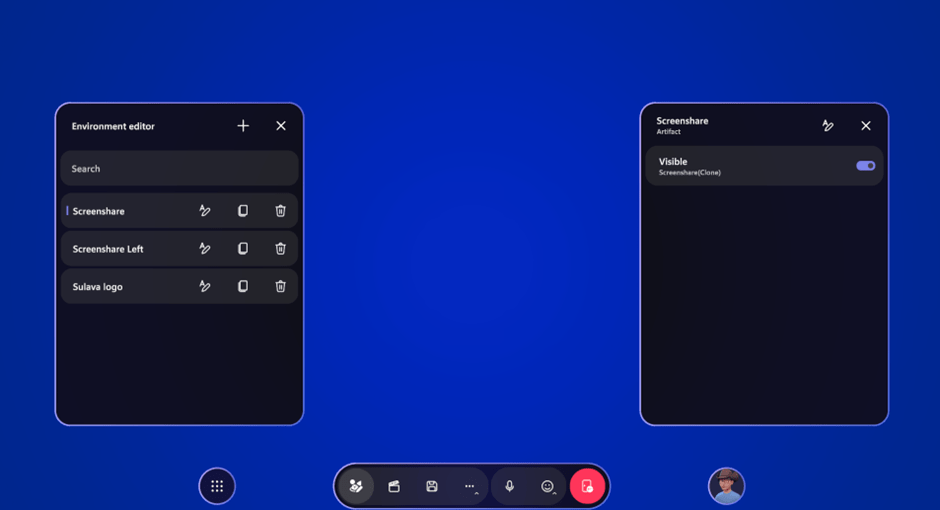
Adding a screenshare makes it possible the presenter ( organizer ) to begin sharing a screen or window from desktop. You can add artifacts to the scene with PC and Quest app, but actual screen sharing is only available on PC app.
Don’t be surprised when you add a screenshare and everything turns blue. It is just the screenshare that is created just in front of you.
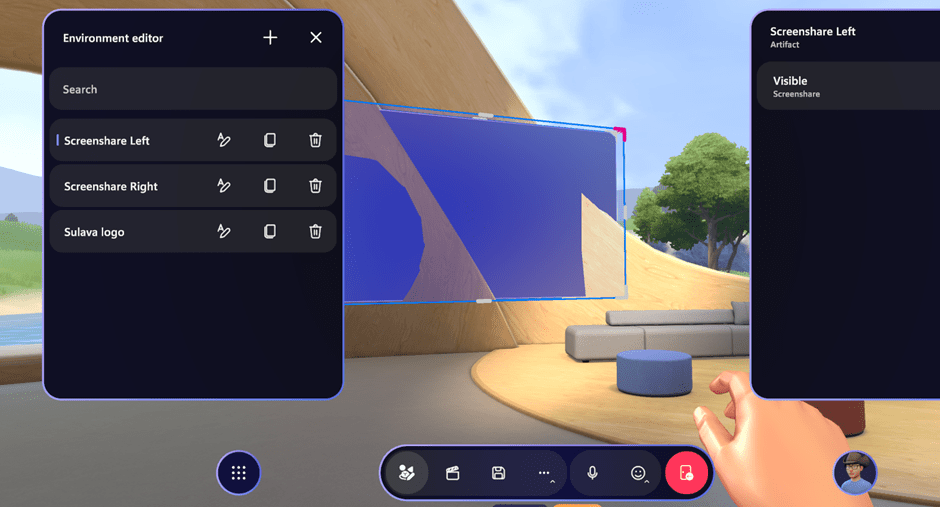
If you move back a bit (S or arrow down) you can see it much better.
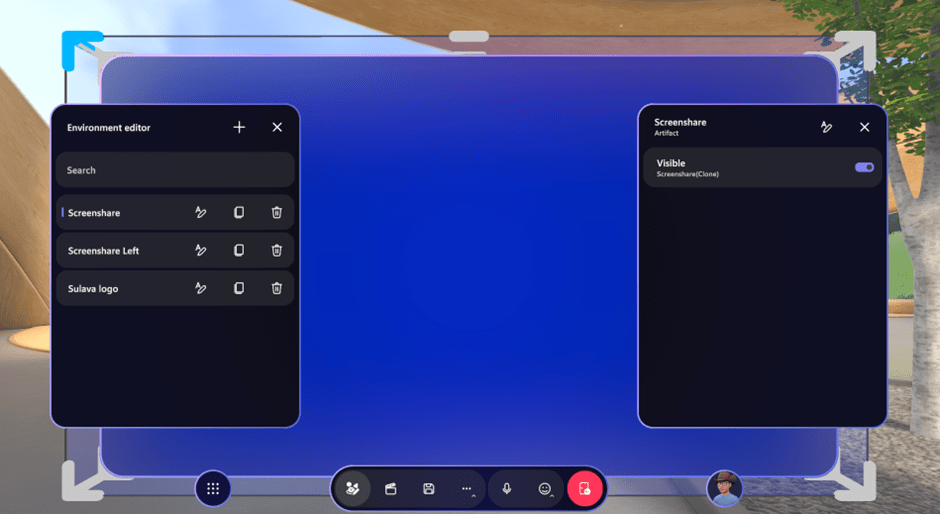
Each artifact also has handles which allows to change orientation and size.
If you hold the left mouse button and move around, you can place the artifact to desired position in the space.
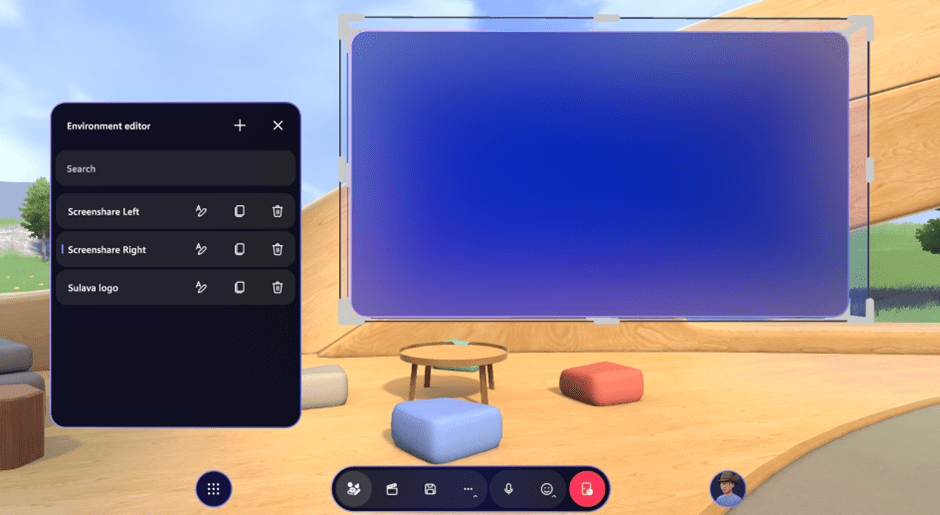
When you move artifacts around you can se your hand there – quite a jedi-feeling there. The gesture is there to show you are moving the artifact.
When you move artifacts around, keep in mind that you might place them behind the wall. This could be used for effect sometimes, but generally – especially with screenshare – it is a thing to avoid.
Just keep the left mouse button pressed on the artifact and move back a bit (S or arrow down) to place it correctly.
Notes: if you add multiple screen shares, they will clone the shared screen. Unfortunately, there isn’t possible to share multiple screens from various users at the same time. Another note is when sharing a screen, audio isn’t transmitted to Mesh. Not yet at least. If you have videos or audio, you should use video artifact to add them to the space. So, let’s look at adding a video.
Adding a video is done just the same way than image and screen share. The URL is in a bit different location, as for videos backplate control is on top. Video volume can be tuned up or down.
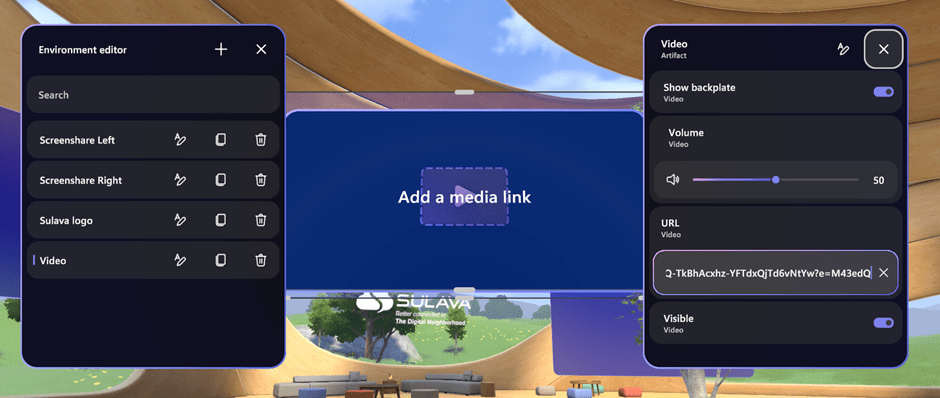
Only .mp4 video is supported and it needs to be shared from SharePoint or OneDrive. Video services such as YouTube, Vimeo, or others are not supported.
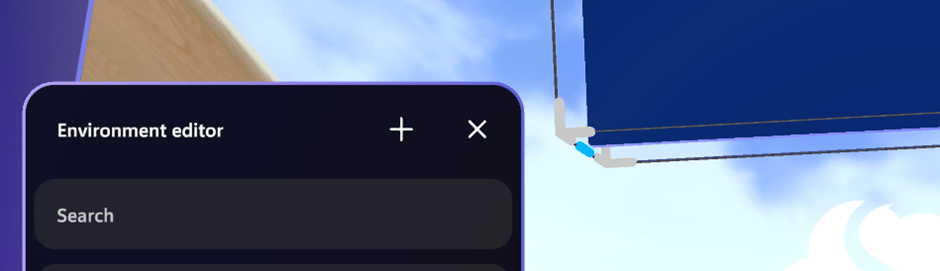
All artifacts can be moved, resized, and tune all three axels. The rotate might be a bit hidden, but it is there in corners between resize handles.
As a result, now we have two screenshares with backplates and video & logo without.
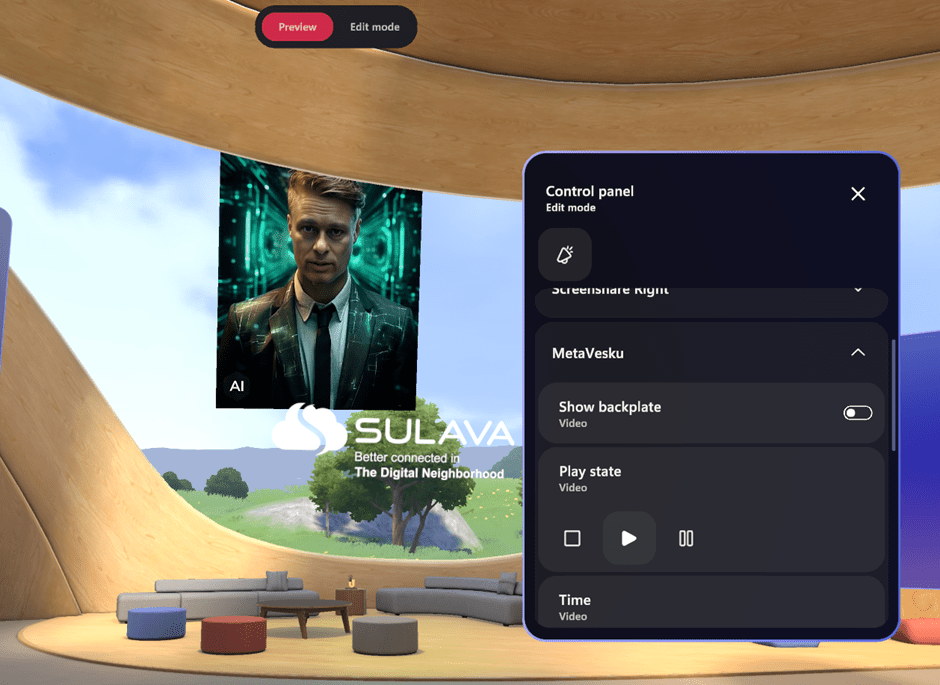
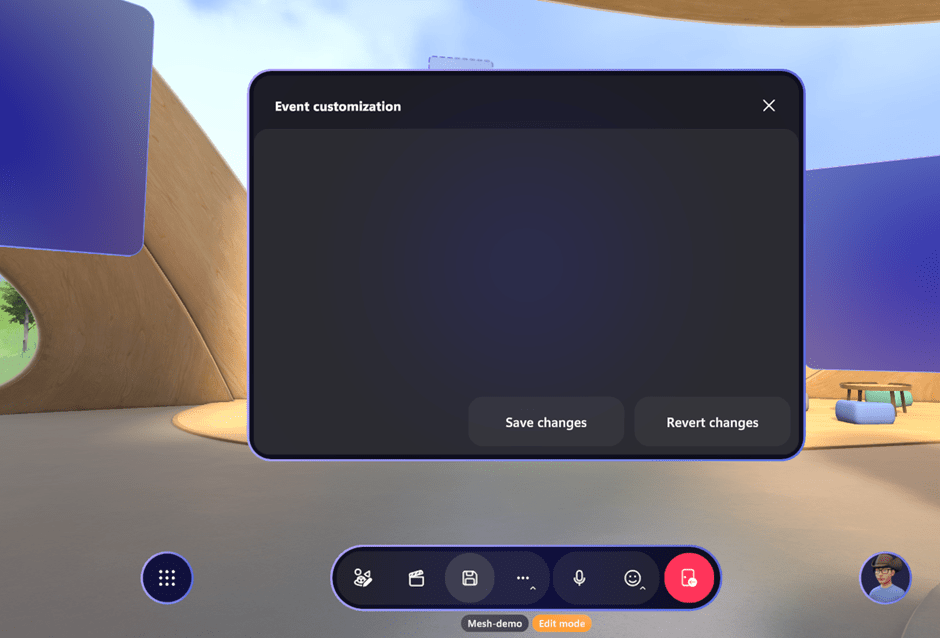
Before we stop customizing our space, we need to take a few looks at the Control Panel.
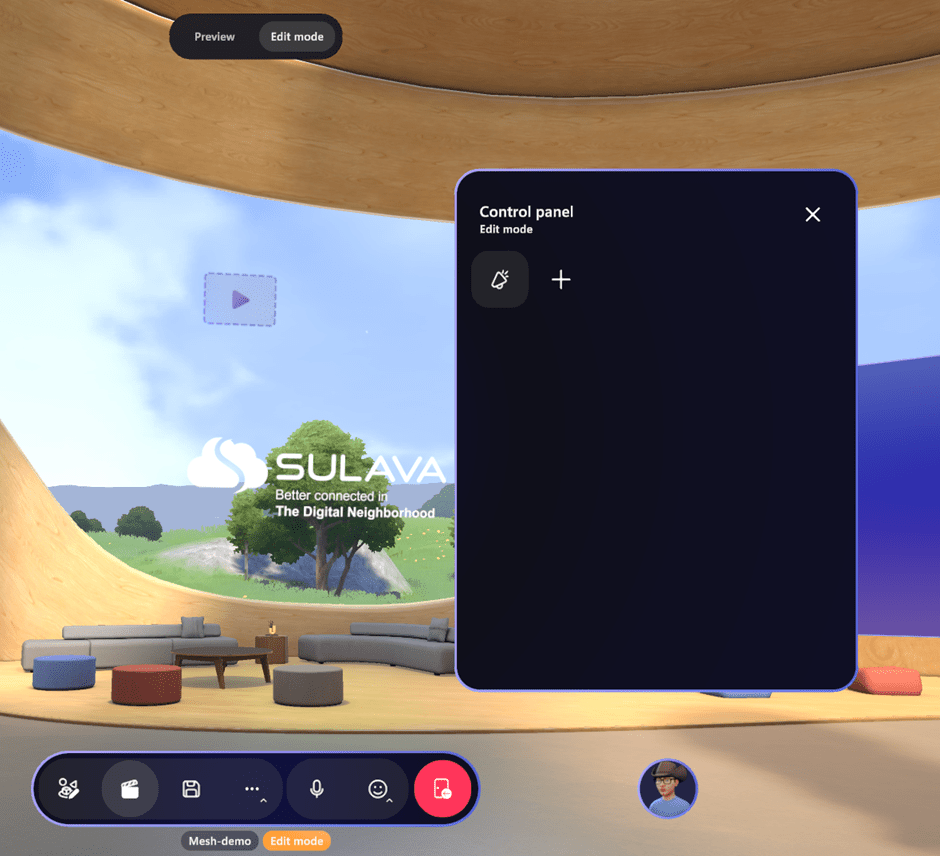
When the Control Panel is visible, we can switch between Preview and Edit mode of the event to see how it works or if it does need changes. But we can do much more here: let’s make the content controllable during the event.
We start by clicking the + on the Control panel.
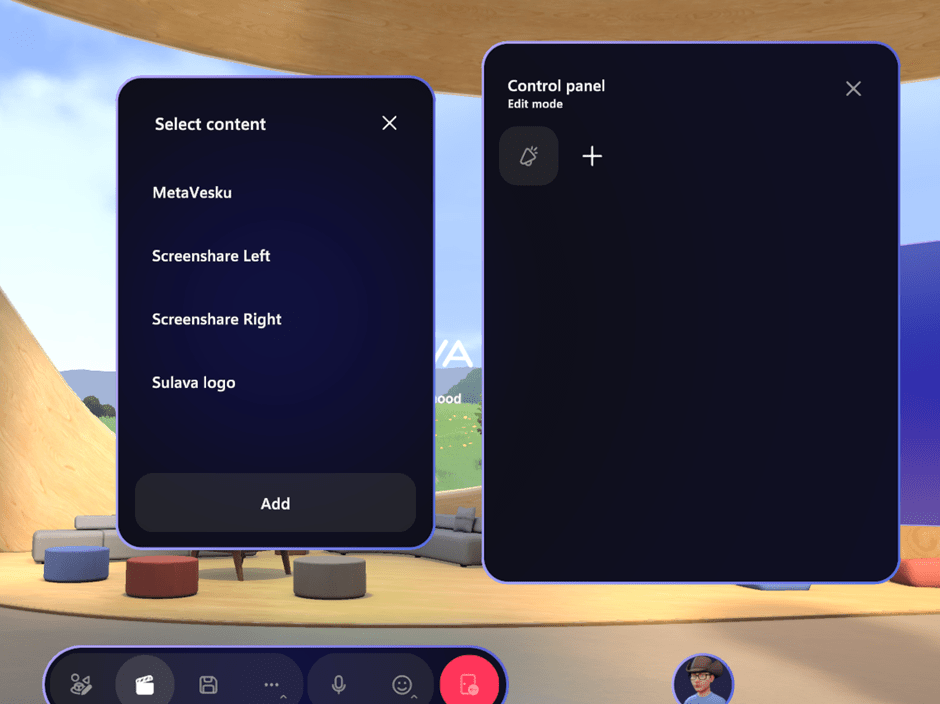
Then select those artifacts from the content which you want to control during the event.
You can of course choose all of them, if you like, but generally I would recommend only choosing those you want to manage (turn on/off/play/change orientation etc). In preview mode these are easy to test – and you can control these further. You can define features like picture orientation, video looping and so on in the control panel. Revealing and hiding artifacts is of course a way to run/facilitate the event.
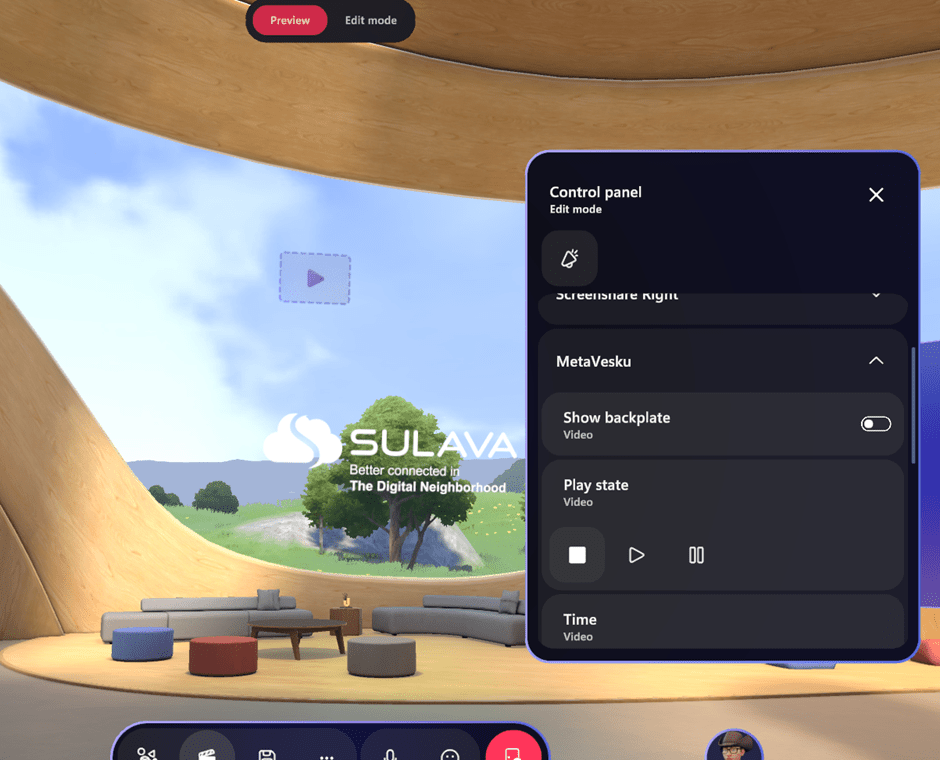
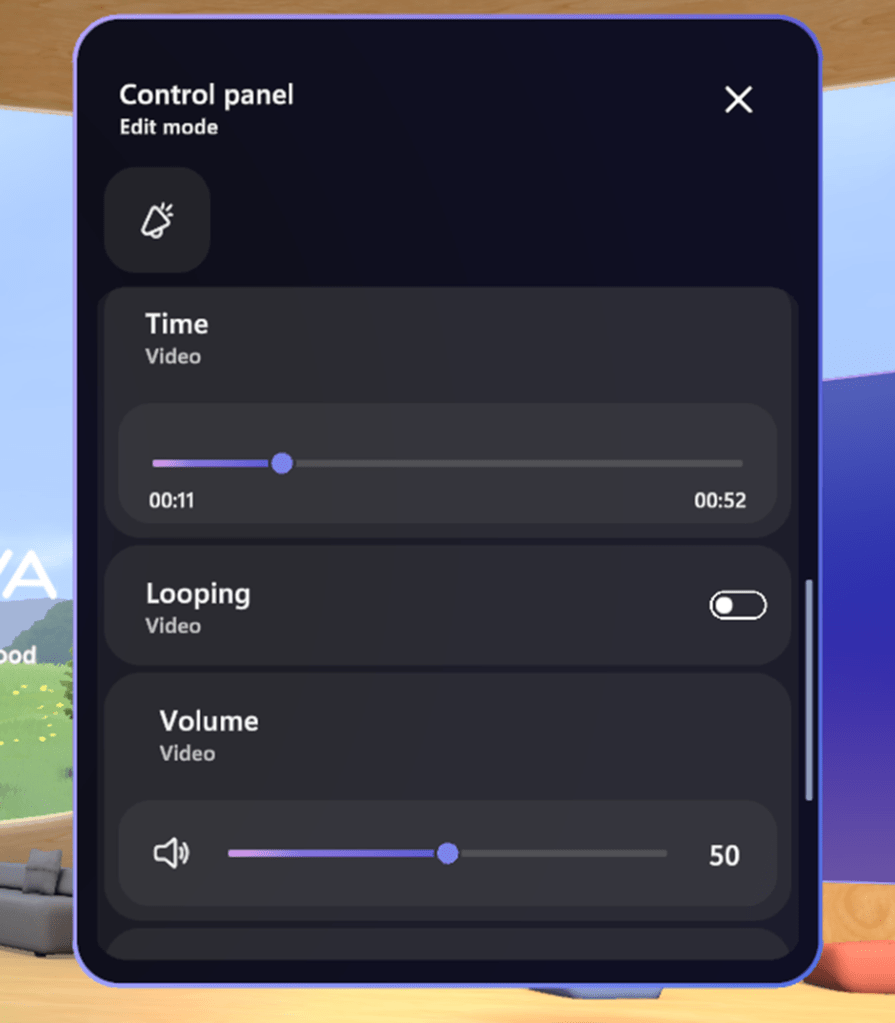
With videos you get the audio, and you can also set its volume – even during the event.
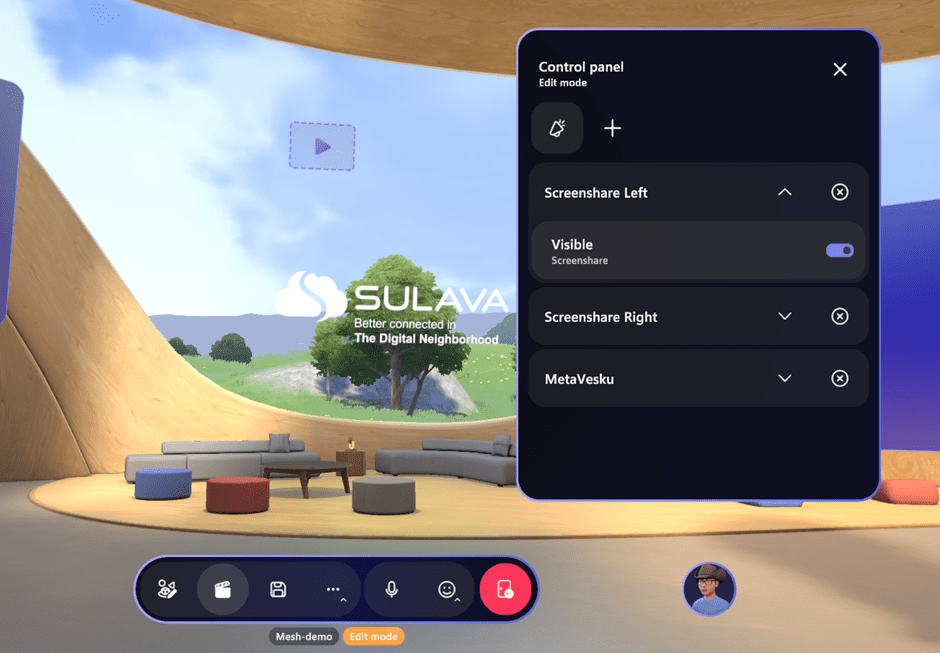
And it is possible to define here if you want video to loop or turn it off or on. You can find visibility toggle at the bottom when you scroll the dialogue down.
Pictures can be re-oriented using the control panel.
Once done, don’t forget to save customizations!
When you see this
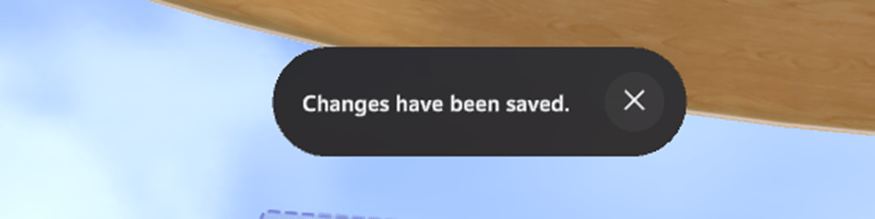
You know your customizations are saved.
Controlling the content
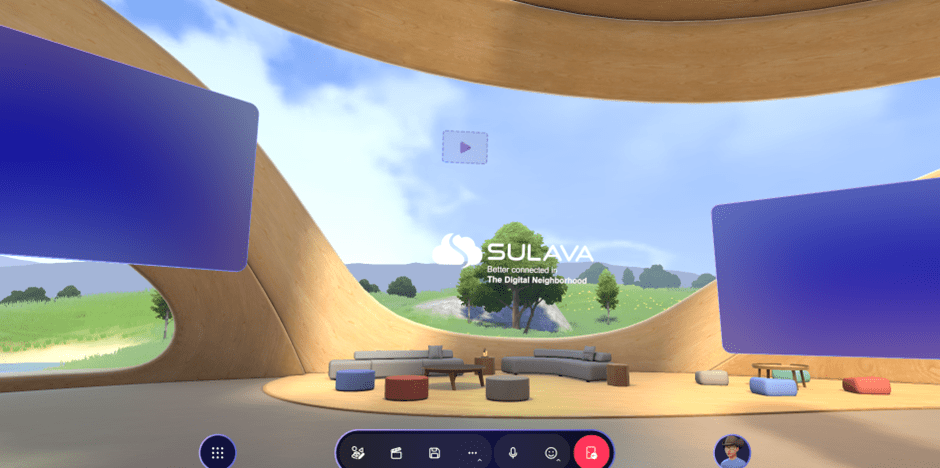
Now that the event has started, organizers and co-organizers have some tools they can utilize to facilitate the event. Basic event tools are megaphone, broadcast and muting everyone. Megaphone lets your voice to be heard everywhere in that room you are – basically skipping spatial audio. When presenting something to everyone, the megaphone is usually turned on so everyone can hear you like they were standing next to you. Broadcast is a megaphone for multi-room events, allowing presenter’s voice to be heard in every room (or shard) loud and clear. Mute all mutes everyone but the presenter.
There are also tools that you will need during the event
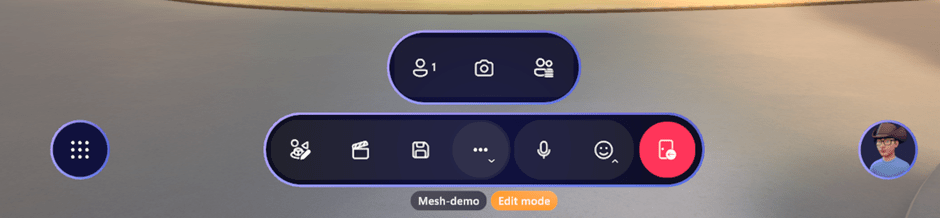
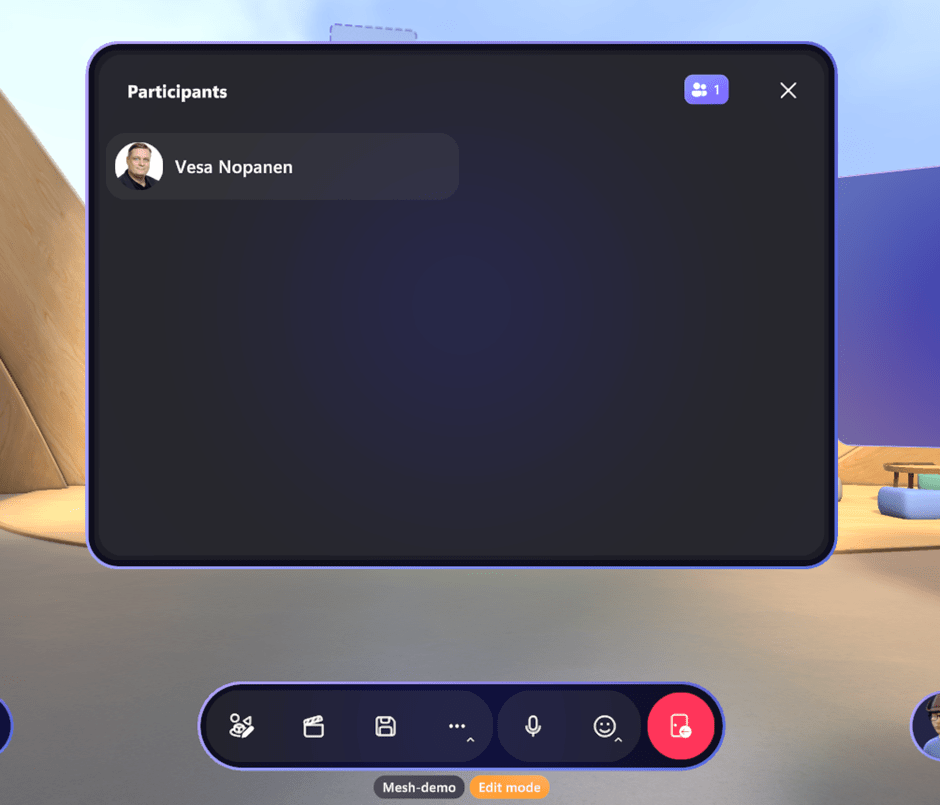
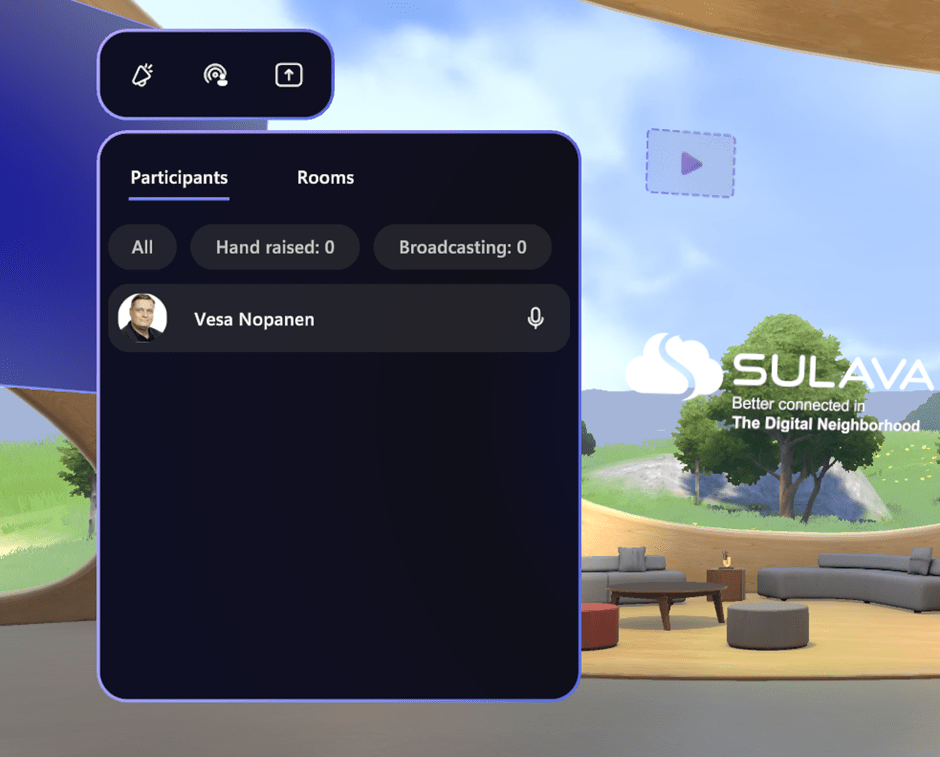
People-panel shows who are in the event.
In the camera menu, you can choose to take avatar-selfies or pictures of the event
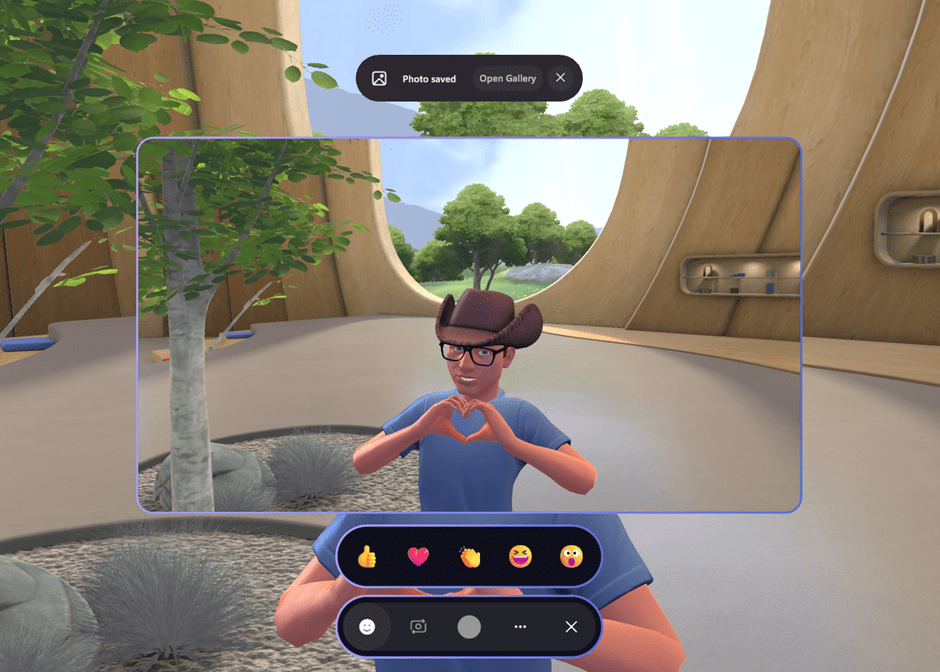
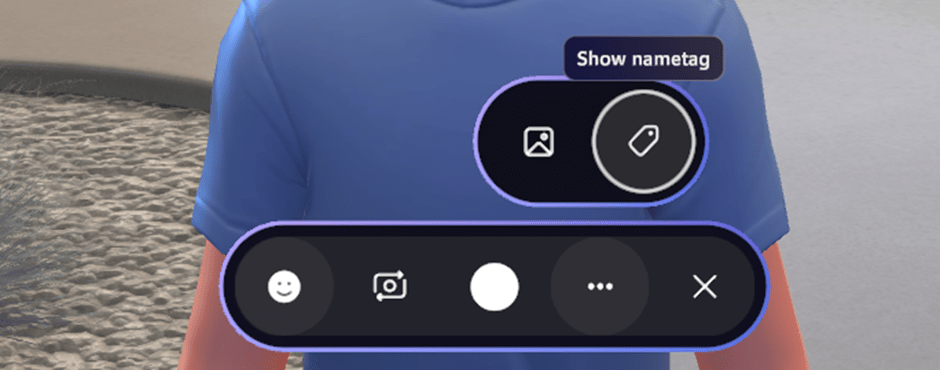
Using reactions, you can have a bit more expressive avatar selfie. It is quite good way to take pictures. When taking a picture, you can choose to show or hide other users name tags.
Pictures are stored onto your OneDrive in Pictures\Microsoft Mesh -folder.
The next tool is the host panel, which is the rightmost of these tools under … menu.
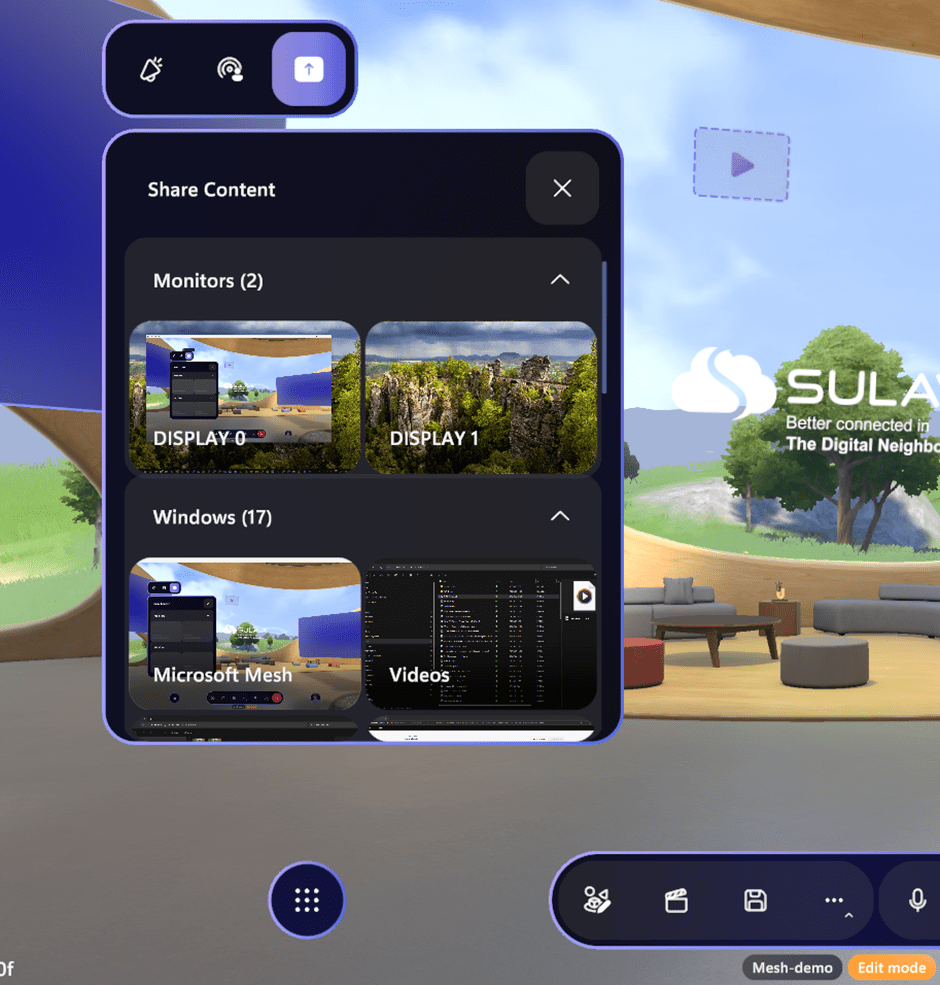
In there it is easy to control megaphone (your voice is loud everywhere in the room you are in) or broadcast, which makes your voice to be heard in all rooms. This is also the place where you can start screensharing.
Opening screenshare takes a while, but it lets you share your displays and windows and which one you use, depends on your need. Full screen share is a good one for PowerPoint presentation, if you have two screens. Or you can pick the PowerPoint presentation window from apps to share. Audio is not shared – not from the app, nor from the screen.
Once you select what you share, you can see you are sharing by the box around shared content and also get a Mesh-notification (should these be called Meshifications? Hmm. Perhaps not) that confirms you are shring.
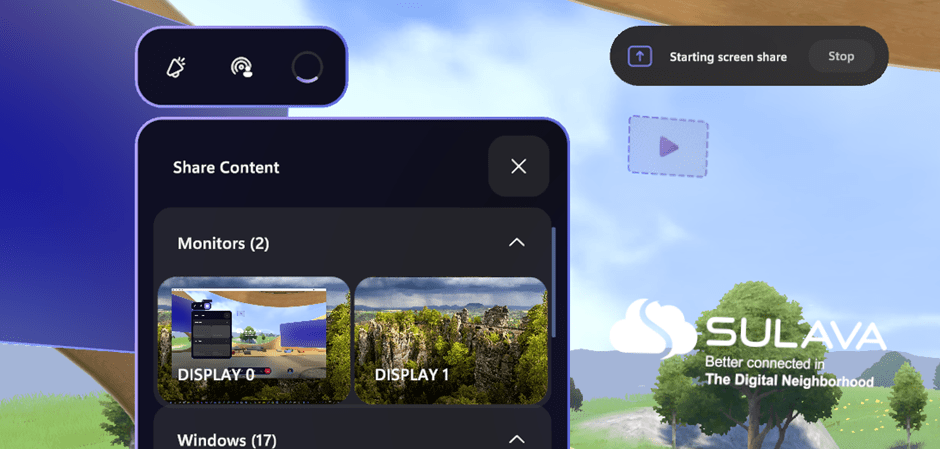
You can only start one screenshare, and it will be duplicated to all Screenshare artifacts in the space. How do I know what I am sharing? Well… you don’t. Unfortunately. If you are a speaker and share the content – you don’t see your shared content in the Mesh. The attendees will see it. You can stop screen sharing by pressing X from Host panel.

During the event you don’t have access to Environment editor, but you do have the Control panel. In the control panel you can edit and change some properties of artifacts (like changing URL of picture or video, hiding and showing, playing video etc). I have found it a good way to show/hide content that I want people to see.
In environment editor I can duplicate several images to the same location, then change those images (URLs) and during the event hide and show the one I need. No, it isn’t as handy as PowerPoint but it is a start. I can also present PowerPoint there, using screen sharing. That is why a screenshare artifact is good to exist in about every event. You never know when you need it.
And the ability to change picture’s or videos URLs during the live event, is actually really powerful. This means that you don’t have to do editing of the event before it starts if you just want to change a couple of pictures. Or you want to present ad hoc content to the audience: you can just change the picture on the fly. This is yet another good reason to add some artifacts to templates so people can utilize them easily. Templates? Well, let’s step onto those next!
Save as a template
When you (save first! and then) leave the space, you have now the event prepared up. If you did customizations there, that other events could benefit you can save the event as a template. This is very useful thinking about repeating events of the same topic and using templates saves a lot of preparation time. Or do it like I do quite often. Typically, I have prepped the event, we join it on time and later I realize that “this would been a great template” . No worries – you can save past event as a template as well! This makes it easier to reuse good templates.

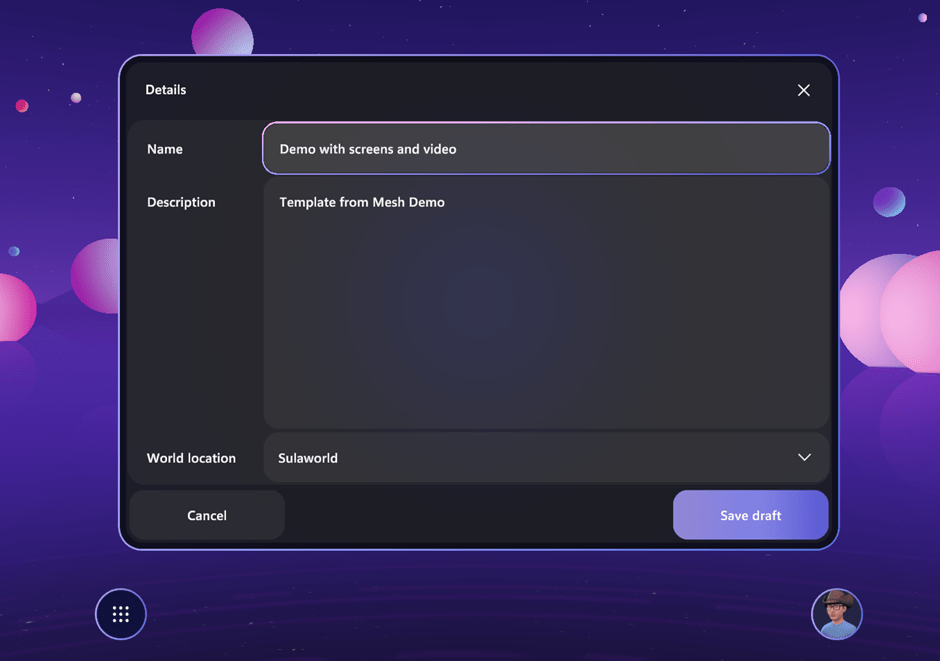
You define template’s name, description and choose the world where you save it.
Then you can see it under drafts in event templates.
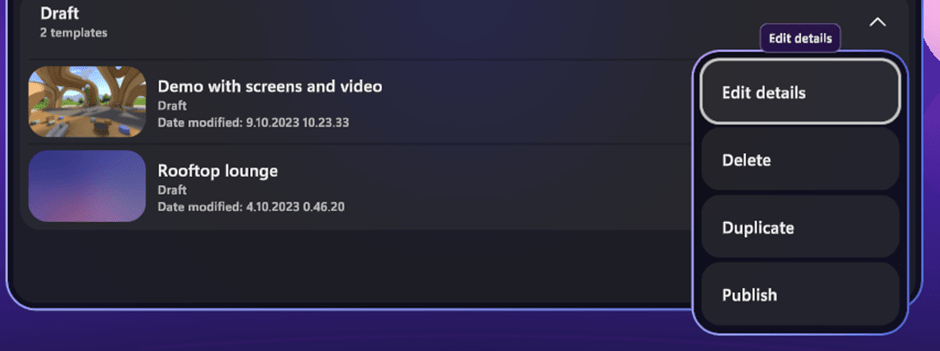
As these are under drafts, others won’t be able to use them yet. That is possible after you Publish the template. You can also duplicate the template if you know you need to do “branched” versions. This can also save time if you pay attention to how to define templates.
You can customize the event template by joining it via the door icon.

You can customize and use the control panel not just on PC but also on the headset. Of course, entering share URLs won’t be very much fun there, so I suggest doing that using the PC Mesh app. Screen sharing is also only available via the PC Mesh app. The VR headset is a splendid way to see where the content really is in the event space.
The conclusion
Microsoft Mesh events are very versatile already. With just a few artifacts we can change the base environment to match more of our needs. I was using Microsoft Town Hall environment on this one, but nothing is stopping you from creating and using your custom environments. In fact, if you already have a rich, but reusable, environment in your company, you can and should finetune it forward with videos, images and screenshares to get more benefits and reuse. This is an aspect to be kept in mind when developing custom Mesh environments for organizations.
I have found it very easy to customize spaces and with these it is possible to add company/customer/need specific content for the template, that will be reused again and again. For example, when doing onboardings you might have a good template that is reused. For events, meetings, and trainings it is the same.
Have you already tried to customize your Mesh event?

I have mesh available and tried to use it a few times, but It seems to stop at 99% when loading the mesh session. Would you have any idea why?
LikeLike
Sounds strange. I would try reinstall first probably. If you know you have firewall etc rules, make sure you have allowed ports and endpoints Mesh needs: https://learn.microsoft.com/en-us/mesh/setup/content/preparing-your-organization
In some way it sounds like it couldn’t connect to some address.
LikeLike